
Third game was against Jon Morrison from the Faulty Dice blog and his Imperial Guard army:
HQ
Company Command Squad
Castellan Creed
Seargent Kell
Troops
Platoon Command Squad (Autocannon)
2 x Infantry Squad (Autocannons)
2 x Heavy Weapons Team (Autocannons)
Veteran Squad (Bastonne/Grenadiers/Meltaguns)
Elites
Guardsman Marbo
Storm Trooper Squad (5 Extra Troopers)
Fast Attack
2 x Vendetta Gunship
Hellhound Squadron (2)
Heavy Support
Leman Russ Exterminator (Pask)
My list is here.
The mission had 5 objectives, special deployment and extra TP’s for holding an objective with your Unique Character.
This was the only Blog Wars 2 mission I tested in advance and I had already decided that I wanted to be the attacker – there’s nothing more pitiful than playing ‘Nids defensively.
I also didn’t look at Jon’s list too closely and when I saw that he was Imperial Guard, I just had an image of me bunkered down and being shot to hell for 4 turns, before he mobilised and grabbed the objectives last turn – I wanted him to be the one sat there while I came at him. It turns out that wasn’t a huge problem as Jon’s list didn’t contain a huge amount of mech.
Being the attacker, I grabbed first turn and deployed aggressively, hoping to get to his lines ASAP. There was a convenient building in the middle of the table where I planned on leaving my Hive Guard – out of sight, but in range of most of the board.
 Jon set up in the middle of the board opposite me – reserving his Hellhounds.
 My Turn 1 and shooting from the TFex and Hive Guards wrecked a Vendetta in Jon’s deployment area and killed a few Guardsmen. Everything legged if forward.
 Jon moved the other Vendetta to my right flank behind some trees and his Storm Troopers jumped out – evidently a few of the ‘chutes didn’t open…*snigger*… Shooting from the Vendetta killed a couple of Hive Guard. Jon’s Orders went on shooting and stupid volumes of Autocannon shots took the Trygon down to 1 wound.
 My Turn 2 and on the right flank Gaunts were spawned and moved into a position to shoot the Shock Trooper. On the left flank, everything moved forwards and was almost in range of the Guard deployment area. Shooting from the TFex/Hive Guards took out the second Vendetta (killing a Gaunt or two in the resulting crash). Any remaining shots went into Gaurdsmen – but was largely ineffective.

 Jon set up in the middle of the board opposite me – reserving his Hellhounds.
 My Turn 1 and shooting from the TFex and Hive Guards wrecked a Vendetta in Jon’s deployment area and killed a few Guardsmen. Everything legged if forward.
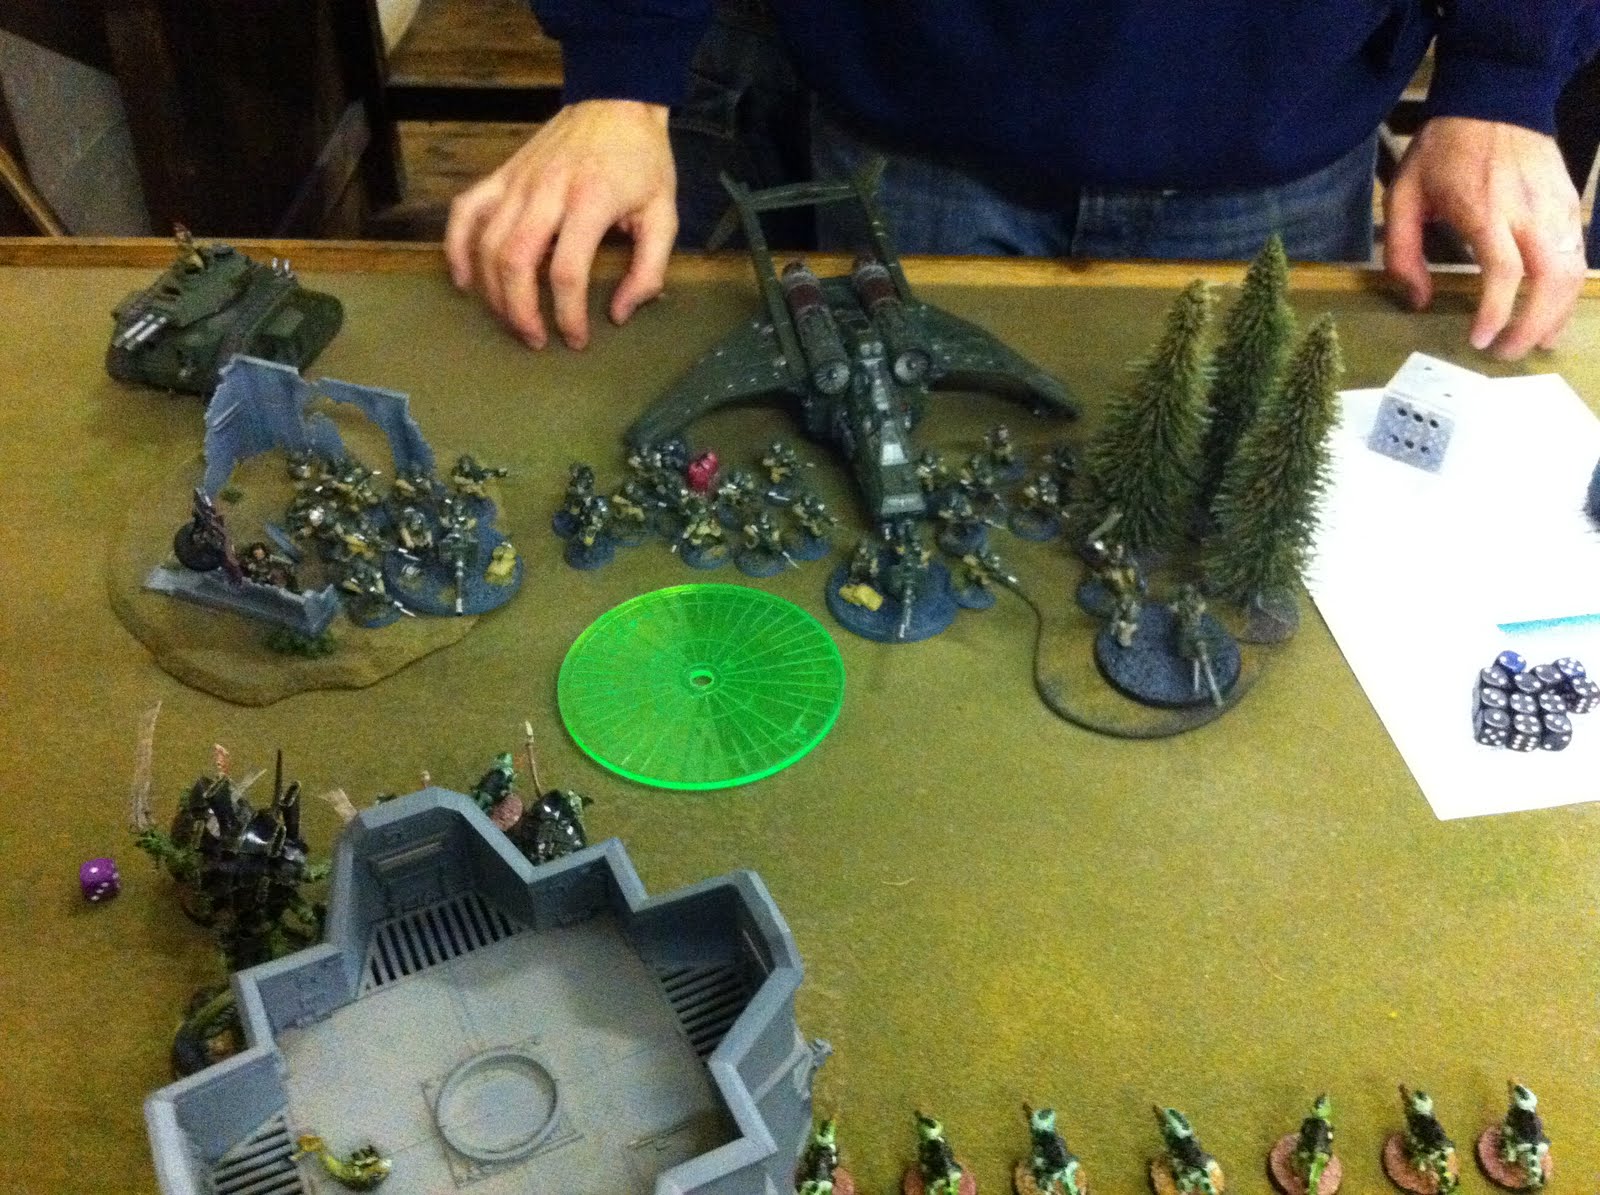
 Jon moved the other Vendetta to my right flank behind some trees and his Storm Troopers jumped out – evidently a few of the ‘chutes didn’t open…*snigger*… Shooting from the Vendetta killed a couple of Hive Guard. Jon’s Orders went on shooting and stupid volumes of Autocannon shots took the Trygon down to 1 wound.
 My Turn 2 and on the right flank Gaunts were spawned and moved into a position to shoot the Shock Trooper. On the left flank, everything moved forwards and was almost in range of the Guard deployment area. Shooting from the TFex/Hive Guards took out the second Vendetta (killing a Gaunt or two in the resulting crash). Any remaining shots went into Gaurdsmen – but was largely ineffective.
Jon’s turn 2 and movements were made to get into position to take the coming assault. Everything opened fire but after the smoke had cleared, minimal damage was done (the Trygon lost its last wound, a Gaunt screen died and the Swarmlord unit lost a wound or two).  My turn 3 and I was in charge range. My thinking is that if most of my army is left and in your deployment area – its already too late for you. I let a couple of small Gaunt broods hang back to sit on objectives and got everything else in shooting/charging range.
 My turn 3 and I was in charge range. My thinking is that if most of my army is left and in your deployment area – its already too late for you. I let a couple of small Gaunt broods hang back to sit on objectives and got everything else in shooting/charging range.
The TFex opened fire on Pask in the Leman and it exploded under the single shot. Gaunts fired into Shocktroopers and Guardsmen, softening them for the assault, and the Swarmlord cast Leech Essence – killing a Guardsman and regenerating a wound. In combat, the Shocktroopers were wiped out – as were the Gaurds around the Command Squad. In the centre of the deployment area, dozens of Gaunts fought against dozens of Gaurdsmen (it was really epic …just like some of the ‘Nid fluff!)
  Jon’s turn 3 and what wasn’t in combat opened fire on the Swarmlord who was currently sat in the open (a wound was lost and a Tyrant Guard died). Things got stupidly intense as Marbo turned up and the entire Command Squad backed-up to be exactly out of range of the upcoming blast – but be able to charge in after (I was obviously praying for a miss and generous scatter). Marbo hit and another couple of wounds came of the unit. Jon then charged his Command Squad into the Swarmlord…much to my amusement. In combat the Swarmlord killed everyone apart from the Unique Characters, who failed to any damage in return.
 In combat, the Shocktroopers were wiped out – as were the Gaurds around the Command Squad. In the centre of the deployment area, dozens of Gaunts fought against dozens of Gaurdsmen (it was really epic …just like some of the ‘Nid fluff!)
  Jon’s turn 3 and what wasn’t in combat opened fire on the Swarmlord who was currently sat in the open (a wound was lost and a Tyrant Guard died). Things got stupidly intense as Marbo turned up and the entire Command Squad backed-up to be exactly out of range of the upcoming blast – but be able to charge in after (I was obviously praying for a miss and generous scatter). Marbo hit and another couple of wounds came of the unit. Jon then charged his Command Squad into the Swarmlord…much to my amusement. In combat the Swarmlord killed everyone apart from the Unique Characters, who failed to any damage in return.
My turn 4 and everything that isn’t in combat moves to join in. Due to some heinous rolls, Swarmlord only manages to kill one of the Characters its tied up with and the unit takes a wound in return. More Gaurdsmen and Gaunts die in the centre, but they are still locked in combat. Jon brings in his Hellhounds on my right flank and proceeds to wipe out all but 1 Gaunt on the objective over there. In combat more Gaunts/Guardsmen die and Swarmlord finally finishes off the Command Squad (killing Mephiston was easier than that!)
  My turn 5 and its all about mopping up now. Good ol’Swarmy charges over to a remaining Heavy squad hiding in some trees and wipes them out. In the middle of the Guard deployment area, the last of the Gaurds are wiped out wipe a Tervigon and the TFex join in (I swear the Tervigon killed 1 Guard by sitting on it…). The other Tervigon charges the Hellhound….scores a hit….but only glances so the Hellhound cant fire next turn.
 Jon’s turn 6 and he only had the Hellhounds left – they move around a bit and shoot the Tervigon – removing a wound.
 My turn 7; instead of going for the Hellhounds, the Tervigon sits on the objective next to it. The Swarmlord, other Tervigon and Gaunts follows suit on three other objectives. The TFex takes a pot-shot at a Hellhound and manages to remove its weapon.
 Jon brings in his Hellhounds on my right flank and proceeds to wipe out all but 1 Gaunt on the objective over there. In combat more Gaunts/Guardsmen die and Swarmlord finally finishes off the Command Squad (killing Mephiston was easier than that!)
  My turn 5 and its all about mopping up now. Good ol’Swarmy charges over to a remaining Heavy squad hiding in some trees and wipes them out. In the middle of the Guard deployment area, the last of the Gaurds are wiped out wipe a Tervigon and the TFex join in (I swear the Tervigon killed 1 Guard by sitting on it…). The other Tervigon charges the Hellhound….scores a hit….but only glances so the Hellhound cant fire next turn.
 Jon’s turn 6 and he only had the Hellhounds left – they move around a bit and shoot the Tervigon – removing a wound.
 My turn 7; instead of going for the Hellhounds, the Tervigon sits on the objective next to it. The Swarmlord, other Tervigon and Gaunts follows suit on three other objectives. The TFex takes a pot-shot at a Hellhound and manages to remove its weapon.
In Jon’s turn I think he shoots something – but not much gets hurt.
‘Nids win 5-0 (2TPs for Swarmlord claiming an objective) and about 1600 VPs woot!
That was a great game and Jon was a really nice guy and a good opponent to play against. I just think a foot-Guard list probably wasn’t the best match-up for ‘Nids in this mission.
Despite the two previous losses – the abundance of TP’s takes me from near the bottom of the leaderboard to 12th place overall – which I can live with.

No comments:
Post a Comment
For the Emperor! (and other Xenos welcome...)